As the landscape of home automation shifts toward a unified standard, the role of a central control point becomes more critical than ever. I have spent years testing how various ecosystems talk to each other, and the move toward Matter is perhaps the most significant change I have seen in the IoT space. The Aqara Hub S1 Plus represents a sophisticated intersection of hardware and software, acting as both a visual command center and a technical translator. This guide will walk you through the process of taking your existing Zigbee setup and bridging it into a modern, cross-platform Matter environment.
Quick Facts
- Display: 6.9-inch touchscreen (1440 x 720 resolution)
- Protocol: Zigbee 3.0 and Matter Bridge functionality
- Installation: Requires standard 86-type wall box with a Neutral Wire
- Capacity: Supports up to 60 Zigbee devices across 10 dashboards
- Electrical: Two built-in relays with a max resistive load of 8A
- Connectivity: Dual-band Wi-Fi (2.4GHz and 5GHz frequencies)
- Firmware: Requires version v4.3.7 or higher for full Matter support
To set up the Aqara Hub S1 Plus, install the touchscreen panel into a standard 86-type wall box and power it on. Use the Aqara Home app to scan the QR code for commissioning and connect the device to your local network. Once connected, ensure the firmware is updated to the latest version to enable full Matter bridge functionality for your smart home ecosystem. This allows the Aqara Hub S1 Plus to act as a Matter gateway, providing local automation and low-latency control by bridging your legacy Zigbee accessories to platforms like Apple Home, Google Home, and Amazon Alexa.
Technical Prerequisites: The Smart Home Audit
Before you begin the physical installation of the Aqara Hub S1 Plus, it is essential to perform a smart home audit to ensure your environment is ready. This specific device is not a simple plug-and-play hub; it is an in-wall control panel that replaces a traditional switch or occupies a dedicated wall box.
Verifying the Neutral Wire
The most common hurdle in Aqara smart home panel installation is the absence of a neutral wire. Unlike basic battery-powered hubs, the S1 Plus requires constant power to run its high-resolution screen and dual-band Wi-Fi. You must verify that your 86-type wall box contains a Neutral wire (usually blue) alongside the Live wire (usually brown or red). If your home uses a "no-neutral" wiring setup, you will need to have a licensed electrician pull a neutral wire to the installation point before proceeding.
Network and Firmware Requirements
The Aqara Hub S1 Plus is unique because it supports both 2.4GHz and 5GHz Wi-Fi. While most IoT devices are limited to 2.4GHz, having 5GHz support allows for faster data transfer when loading complex dashboards. However, for the initial commissioning, ensure your smartphone is on the same network you intend to use for the hub. Additionally, check that your Aqara Home app is updated to the latest version available in the App Store or Google Play Store. This is vital for how to update aqara hub s1 plus firmware for matter support later in the process.
Physical Installation and Power-Up
Once you have confirmed your wiring, the physical installation can begin. Because this device handles mains voltage, always turn off the power at the circuit breaker before touching any wires.
Wiring and Safety Precautions
The back of the Aqara Hub S1 Plus features terminals for Live (L), Neutral (N), and two load terminals (L1, L2). The hub features integrated hardware for physical control, including two built-in electrical relay switches with a maximum resistive load of 8A and six wireless programmable buttons for triggering smart home scenes. Connect your light circuits to L1 and L2 if you wish to use the S1 Plus as a physical light switch. If you are using it purely as a hub and controller, you can leave the load terminals empty, but the L and N terminals must be securely connected.
Mounting the Unit
Carefully tuck the wires into the 86-type wall box. The S1 Plus has a modular design where the screen detaches from the power base. Screw the base into the wall box first, ensuring it is level. Once the base is secure, snap the touchscreen panel onto the front. Restore power at the breaker, and you should see the Aqara logo appear on the 6.9-inch display.
Configuring the Aqara Home App
With the device powered on, the next phase is software commissioning. This step links the hardware to your account and prepares it for Matter bridging.
QR Code Commissioning
Open the Aqara Home app and select the "Add Device" icon. The S1 Plus will display a setup QR code on its screen. Scan this code with your phone. The app will guide you through connecting the hub to your Wi-Fi. During this stage, the device uses the Zigbee 3.0 protocol to establish its internal mesh network. Once the hub is online, the first thing you must do is check for a firmware update. Navigate to the device settings and ensure you are running at least version v4.3.7. This version is the baseline for stable Matter performance.
Pairing Legacy Zigbee Devices
The true power of this hub lies in its ability to bring older hardware into the modern era. You can now begin adding your sensors, buttons, and switches to the S1 Plus. The Aqara Panel Hub S1 Plus serves as a central control system that can manage up to 60 compatible Zigbee devices and display them across 10 customizable dashboards. To add a device, select the S1 Plus in the app, click "Add Child Device," and put your Zigbee accessory into pairing mode. These aqara zigbee devices compatible with matter via s1 plus will then be ready to be exposed to other ecosystems.
Matter Bridge Setup: Connecting to External Ecosystems
This is the most critical part of the Zigbee to Matter bridge setup. Instead of connecting each individual sensor to Apple Home or Google Home, you will connect the S1 Plus as a bridge.
Generating the Matter Setup Code
In the Aqara Home app, go to the settings for your S1 Plus and look for the "Bind to Matter" or "Matter Setup Code" option. The app will generate a unique 11-digit code or a QR code. This is your key to interoperability.
- Open your preferred ecosystem app (e.g., Apple Home).
- Tap "Add Accessory" and scan the Matter QR code generated by the Aqara app.
- The ecosystem will recognize the S1 Plus as a Matter Bridge.
- Once the bridge is added, all compatible Zigbee accessories paired with the S1 Plus will automatically appear in Apple Home or Google Home.
Troubleshooting and Commissioning Errors
If you encounter troubleshooting aqara hub s1 plus matter commissioning errors, the most common culprit is a network mismatch. Ensure that your Matter controller (like an Apple HomePod or a Google Nest Hub) is on the same VLAN and subnet as the S1 Plus. Matter relies heavily on IPv6 and mDNS; if your router has "mDNS Snooping" or "IGMP Snooping" disabled, the commissioning process may fail.
Advanced Optimization: Intelligent Load and Local Automations
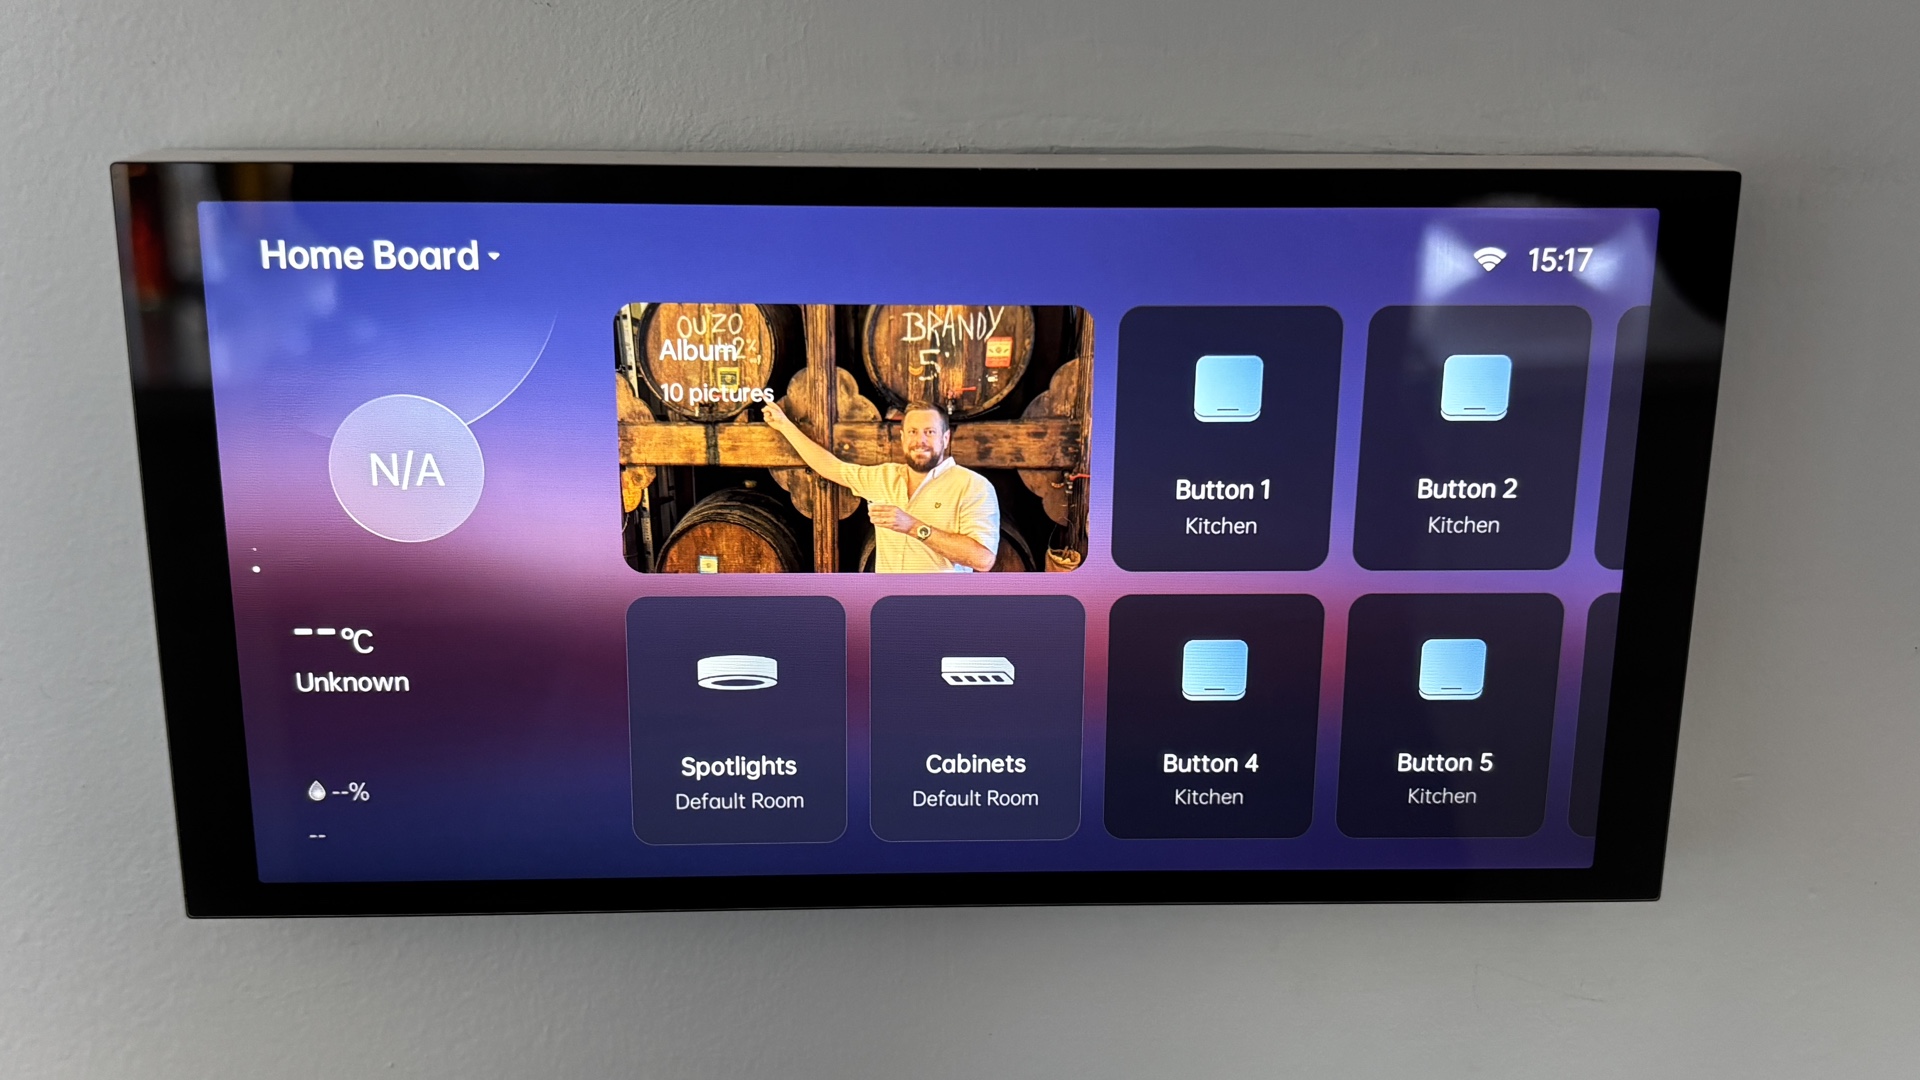
Beyond bridging, the S1 Plus offers features that improve the daily user experience. Equipped with a 6.9-inch touchscreen and 1440 x 720 resolution, the device functions as a Matter bridge and supports dual-band Wi-Fi connectivity on both 2.4GHz and 5GHz frequencies, making the interface incredibly snappy.
Intelligent Load for Smart Bulbs
If you have connected smart bulbs to the physical relays of the S1 Plus, enable the "Intelligent Load" feature. This ensures that the relay stays closed (keeping the smart bulb powered) while the physical buttons on the screen act as wireless triggers. This prevents the "no response" error common when smart bulbs are turned off at a traditional wall switch.
Using Ark Technology for Local Reliability
Aqara employs what they call Ark Technology for local execution. This means that even if your internet connection goes down, any automation created within the Aqara ecosystem that involves devices connected to the S1 Plus will continue to function. This local automation engine is a key benefit of using a dedicated touchscreen panel over a cloud-based solution. By keeping your data at the edge, you increase both security and response speed.
FAQ
What is the Aqara Hub S1 Plus used for?
The device acts as a centralized control panel for your smart home. It features a high-resolution touchscreen to manage lights, scenes, and sensors, while simultaneously serving as a Zigbee 3.0 hub and a Matter bridge to connect Aqara devices to other platforms.
Is the Aqara Hub S1 Plus compatible with Matter?
Yes, the Hub S1 Plus supports Matter via a firmware update (v4.3.7 or higher). It functions as a Matter bridge, meaning it can expose its connected Zigbee accessories to any Matter-certified controller like Apple Home, Google Home, or Amazon Alexa.
How does the S1 Plus differ from other Aqara hubs?
Unlike the M2 or M3 hubs which are standalone boxes, the S1 Plus is an in-wall touchscreen panel. It provides a visual interface for the home and includes physical relays to control wired lighting circuits, making it a hybrid of a hub and a smart switch.
Does the Hub S1 Plus have a built-in touch screen?
Yes, it features a 6.9-inch touchscreen with a resolution of 1440 x 720. This screen allows you to view 10 different customizable dashboards and control up to 60 Zigbee devices directly from the wall.
How do I install the Aqara Hub S1 Plus in my home?
Installation involves mounting the device into a standard 86-type wall box. It requires a Neutral wire for power. Once wired and mounted, you complete the setup by scanning the QR code on the screen using the Aqara Home app.
Setting up the Aqara Hub S1 Plus is a transformative step for any enthusiast looking to future-proof their home. By following this aqara hub s1 plus matter bridge setup guide, you are not just adding a screen to your wall; you are creating a localized, low-latency bridge that brings the best of Zigbee reliability to the expansive world of Matter. Whether you are connecting aqara s1 plus zigbee devices to apple home via matter or simply seeking a more elegant way to control your environment, the S1 Plus stands as one of the most capable gateways on the market today.