Quick Facts
- Network Topology: Use a star topology rather than daisy chaining for better reliability and lower latency.
- Performance Impact: Using a wi-fi extender can reduce network throughput by up to 50 percent as it uses the same radio to receive and retransmit data.
- Daisy Chain Penalty: Each extra hop in a daisy chain configuration degrades performance by an additional 50 percent, leading to significant speed loss.
- Placement Strategy: Install each wi-fi extender in an outlet approximately halfway between your router and the target dead zones.
- Market Trends: The residential segment accounted for over 55 percent of the global market share in 2024, reflecting the growing need for coverage in larger smart homes.
- Mesh Alternative: For homes larger than 3,000 square feet, a mesh system is generally more efficient than managing multiple individual extenders.
Yes, you can connect multiple wi-fi extenders to a single router to eliminate dead zones throughout your home, provided you understand the specific configuration requirements. Choosing between a wi-fi extender vs booster often comes down to how you manage the signal, but using a star topology is essential to prevent massive bandwidth degradation across your connected devices.
How It Works: The Mechanics of Multiple Extenders
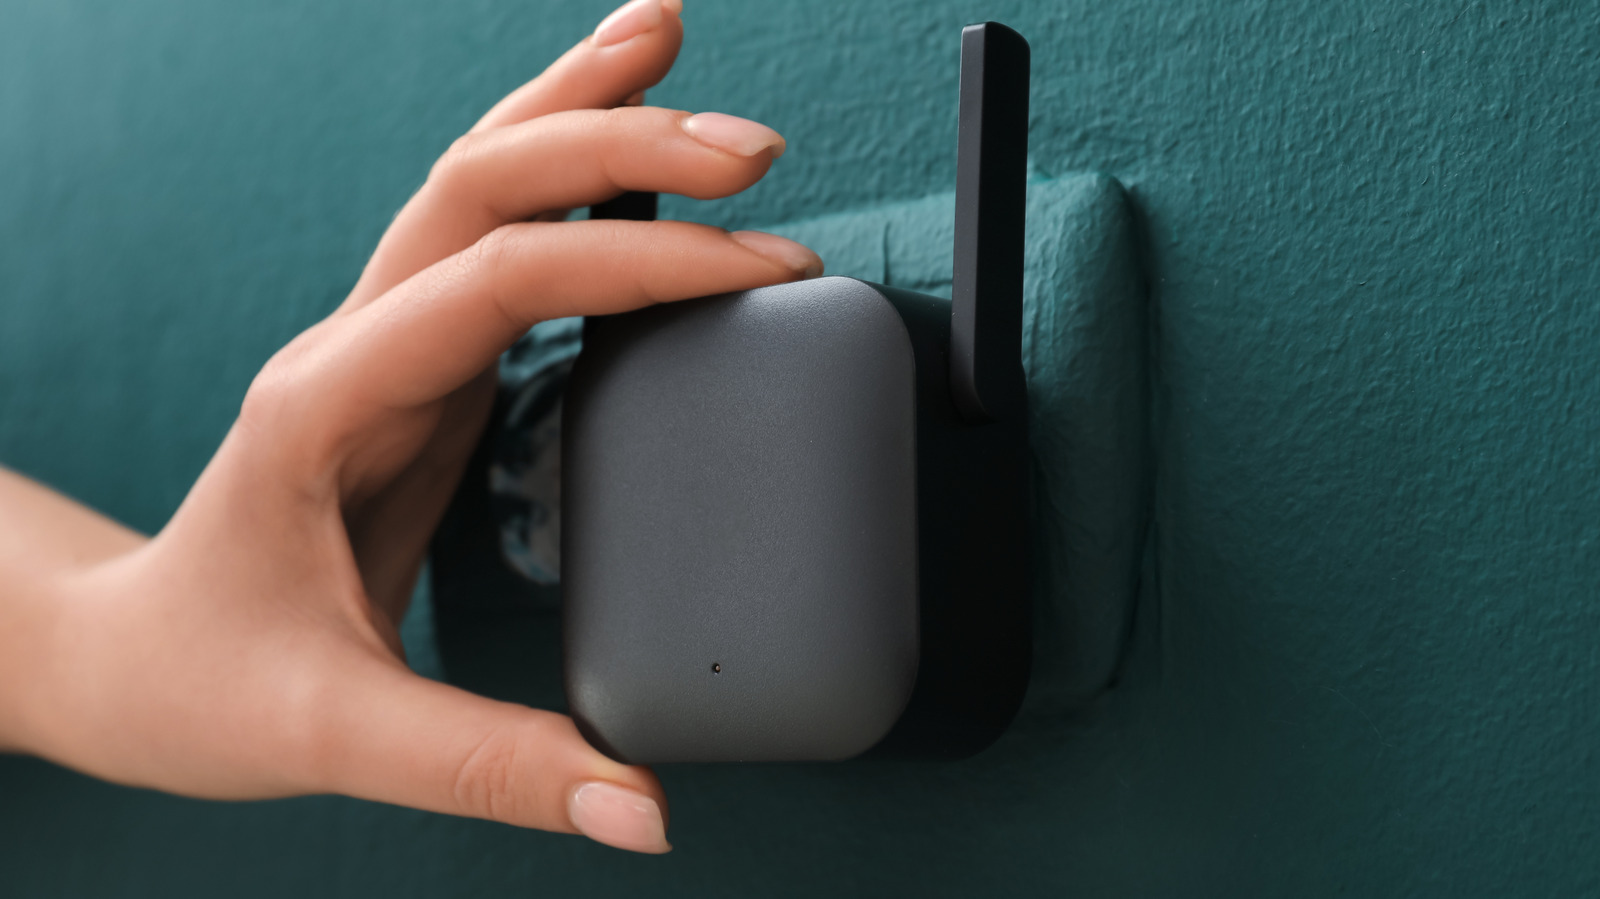
When you are looking to fix a spotty internet connection in the far corners of your house, you will likely encounter two terms: wifi extender vs booster. While often used interchangeably, a booster is a broad term for any device that improves signal, whereas a wi-fi extender works by creating a new access point that captures the signal from your router and rebroadcasts it.
The way how does a wi-fi extender work is relatively straightforward but has technical limitations. The device uses half of its internal antennas to listen to the router and the other half to communicate with your gadgets. This is why you experience a throughput drop. In a home with many smart appliances, this signal attenuation can become noticeable, especially if you are placing devices behind thick walls or near heavy appliances.
Most dead zones in a modern home are caused by distance or physical obstructions. In the current market, the best wifi extender for long range will often feature external antennas and high-gain amplifiers to punch through these barriers. However, simply adding more hardware isn't always the answer if the underlying network architecture is poorly planned.
Star vs. Daisy Chain: Choosing Your Topology
If you have a large property, you might ask: can you connect two wi-fi extenders to one router? The answer is yes, but the layout determines whether your Netflix stream buffers or plays in 4K. There are two primary ways to arrange these devices: Star Topology and Daisy Chaining.
In a Star Topology, the router sits at the center, and each wi-fi extender connects directly to it. This is the gold standard for performance because data only takes one wireless hop to get back to the internet gateway. Conversely, Daisy Chaining involves connecting Extender A to the router, and then connecting Extender B to Extender A. This creates a chain of signals that rapidly loses strength and increases latency.
| Feature | Star Topology | Daisy Chaining |
|---|---|---|
| Max Bandwidth | 50% of original speed | ~25% (or less) of original speed |
| Latency | Low/Moderate | High |
| Setup Complexity | Simple | Difficult to stabilize |
| Best For | Circular or multi-story layouts | Long, narrow corridors (rarely recommended) |
| Reliability | High (one failure doesn't affect others) | Low (if the first extender fails, the second fails) |
For most users, the goal is to avoid network congestion. By using the star method, you ensure that each device has the shortest path possible to the source.
Step-by-Step: How to Set Up Multiple Wi-Fi Extenders
The process of how to set up multiple wifi extenders requires a bit more patience than setting up just one. You want to ensure that they don't fight over the same channels or cause IP conflicts.
- Initial Configuration: Start by placing your first device in the same room as the router. Use the connecting wifi extender to router via wps method for the quickest handshake. Simply press the WPS button on the router and then on the device.
- Web Interface Configuration: Once paired, access the web interface configuration via a browser. Change the SSID (network name) if you want to differentiate between the router and the areas covered by the extenders, though many modern units support SSID management for a unified name.
- Repeat for the Second Unit: Power up the second device and repeat the pairing process with the router. Ensure it is not trying to link to the first extender; it must link directly to the router to maintain the star topology.
- Firmware Updates: Always check for firmware updates during setup. This is crucial for newer WiFi 6 models to ensure seamless roaming and better compatibility with your phone or laptop.
- Placement: Move the devices to their final locations. Ensure they are far enough apart that they don't cause signal interference with each other.
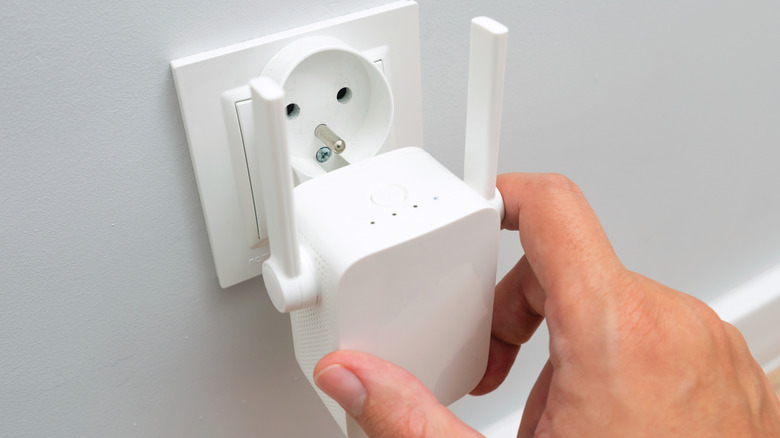
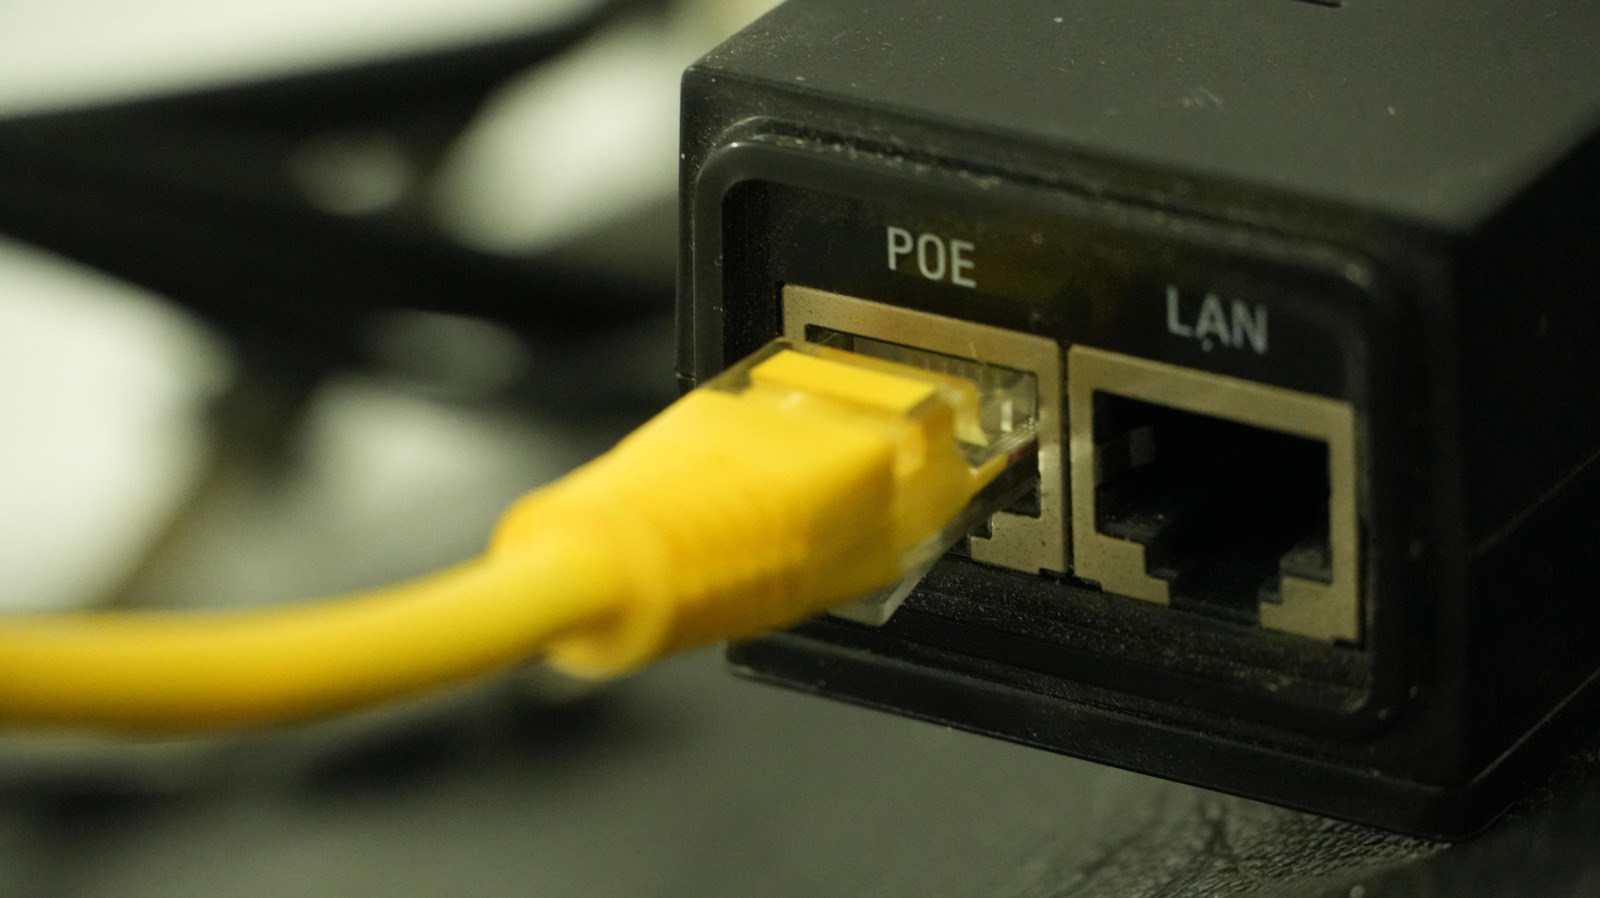
When managing different rooms, consider a wi fi extender with ethernet port. This allows you to use a physical cable (wired backhaul) for devices like gaming consoles or smart TVs, which bypasses the wireless throughput penalty entirely.
Optimization: Placement and Material Diagnostic
The most common mistake in a wi fi extender placement guide is putting the device directly in the dead zone. If the extender has a poor signal from the router, it will only rebroadcast that poor signal. You should place the device in an area where the signal is still strong (at least two bars on your phone).
Physical materials in your home act as sponges for wireless signals. When you are looking for the best wifi extender for long range, keep in mind that no amount of power can perfectly penetrate certain materials.
Signal Loss Chart (Estimated dB Loss)
- Timber/Drywall: 3-5 dB (Minimal impact)
- Glass/Windows: 2-4 dB (Varies by coating)
- Brick/Cinder Block: 12-15 dB (Significant impact)
- Concrete/Rebar: 15-20 dB (Critical impact)
- Large Mirrors/Metal: 20+ dB (Can completely block signal)
Expert Tip: Use your smartphone to map your home. Walk around and note where the signal drops below -70 dBm. Place your hardware 15-20 feet before that drop-off point to ensure the wireless backhaul remains stable.
Beyond Extenders: When to Switch to Mesh
As you add more units to your network, you might find that managing three or four different SSIDs becomes a headache. This is where we look at the wi fi extender vs mesh debate. While a single wi-fi extender is a great budget fix for a single room, a mesh system is designed for large-scale automation.
Mesh nodes use tri-band technology to create a dedicated lane for communication between the nodes. This prevents the 50% speed drop associated with standard repeaters. Unlike extenders, mesh systems offer seamless roaming, meaning your phone will automatically switch to the strongest node as you walk from the kitchen to the bedroom without dropping a video call.
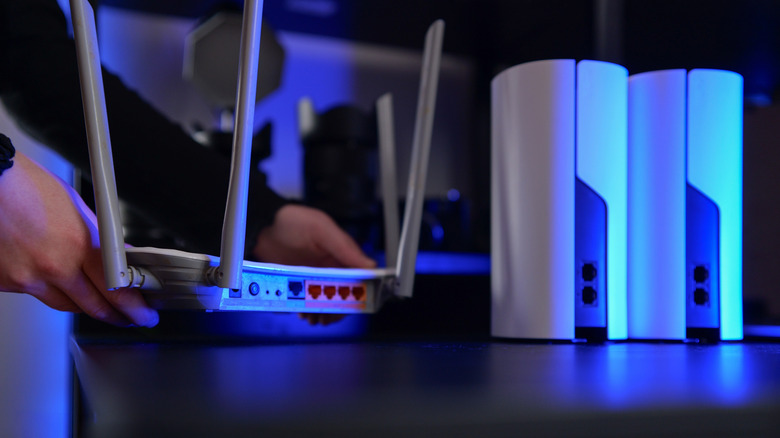
If you find yourself needing more than two add-on units, the cost of high-quality extenders starts to approach the price of a mid-range mesh system. In my experience, the reduced latency and easier management of a mesh setup are well worth the investment for a truly smart home experience.
FAQ
Do WiFi extenders actually work well?
They work effectively for filling specific gaps in coverage, but they are not a magic fix for slow internet. Because they typically cut your bandwidth in half to manage the relay, they are best suited for browsing and streaming in areas that previously had no signal at all, rather than high-stakes gaming or heavy file transfers.
How do I connect my WiFi extender to my WiFi?
The most common way is using the WPS button on both your router and the extender for a quick sync. Alternatively, you can connect to the extender's default setup signal on your phone or laptop and use a web browser to select your home network and enter your password.
What is the best way to extend Wi-Fi range?
For the highest performance, an Ethernet-wired access point is the best method. If you cannot run cables, a tri-band mesh system is the next best choice. If you are on a budget, a well-placed wi-fi extender using a star topology (connecting directly to the router) is the most cost-effective solution.
How far will a WiFi extender reach?
Generally, a standard extender can reach between 30 to 70 feet depending on the environment. Barriers like concrete walls or metal appliances will significantly reduce this range. For the best results, the extender should be placed within 20-30 feet of the router to maintain a strong source signal.