Quick Facts
- Resolution: 2K (2304 x 1296) native high-definition video
- Storage: Local recording via MicroSD cards up to 512GB
- Weather Rating: IP65 dust and water resistance
- Connectivity: 2.4GHz Wi-Fi with Wi-Fi 6 support
- Smart Home: Native Apple HomeKit and RTSP compatibility
- Field of View: 140-degree wide-angle lens
Start your home security journey with our Aqara G100 setup guide. We cover everything from the 2.4GHz Wi-Fi connection to IP65 mounting. To complete the Aqara G100 setup, power the device using a USB-C cable and open the Aqara Home app. Scan the QR code located on the camera base, select your 2.4GHz Wi-Fi network, and follow the pairing prompts. For outdoor use, ensure the rubber weather-protection sleeve is correctly sealed over the power connection.
Pre-Setup Checklist: Hardware and Power Requirements
Before you start climbing ladders or drilling holes, let's look at the hardware requirements for the Aqara G100 (Model CH-C08D). One thing you will notice immediately is that while the box includes a generous USB-C cable, it often excludes the 5V/1A power adapter. This is a common trend in smart home tech, but it means you will need to source a reliable power brick yourself. I recommend using a high-quality adapter to ensure consistent performance, especially during the cold winter months when power draw might fluctuate.
Regarding local storage, the camera supports local storage encryption for added privacy. To take advantage of this, you should have a Class 10 or higher microSD card ready. The device supports microSD cards with capacities up to 512 GB and utilizes Wi-Fi 6 technology to maintain a stable stream. Note that even with Wi-Fi 6, the camera still relies on the 2.4GHz Wi-Fi band for initial pairing, so make sure your smartphone isn't accidentally locked onto a 5GHz-only SSID during the process.
Step 1: Aqara Home App Configuration
The heart of your experience is the Aqara Home app configuration. Start by downloading the app from the Apple App Store or Google Play Store and creating an account. Once logged in, tap the "+" icon in the top right corner and search for the Camera G100.
The Aqara G100 Home app pairing process is generally smooth, but I have found that lighting is the biggest hurdle. When the app displays a QR code on your phone screen, hold it about 6 to 8 inches away from the camera lens. If you encounter troubleshooting Aqara G100 QR code scanning issues, try increasing your phone screen's brightness to maximum or cleaning the camera lens with a microfiber cloth.
Once the camera chimes to acknowledge the scan, it will begin firmware synchronization. It is vital to let this finish before moving the camera; a stable connection during the first update prevents potential software hangs. Once connected, you can toggle real-time push notifications so you are alerted the moment the camera detects movement.
Step 2: Physical Installation and Mounting Guide
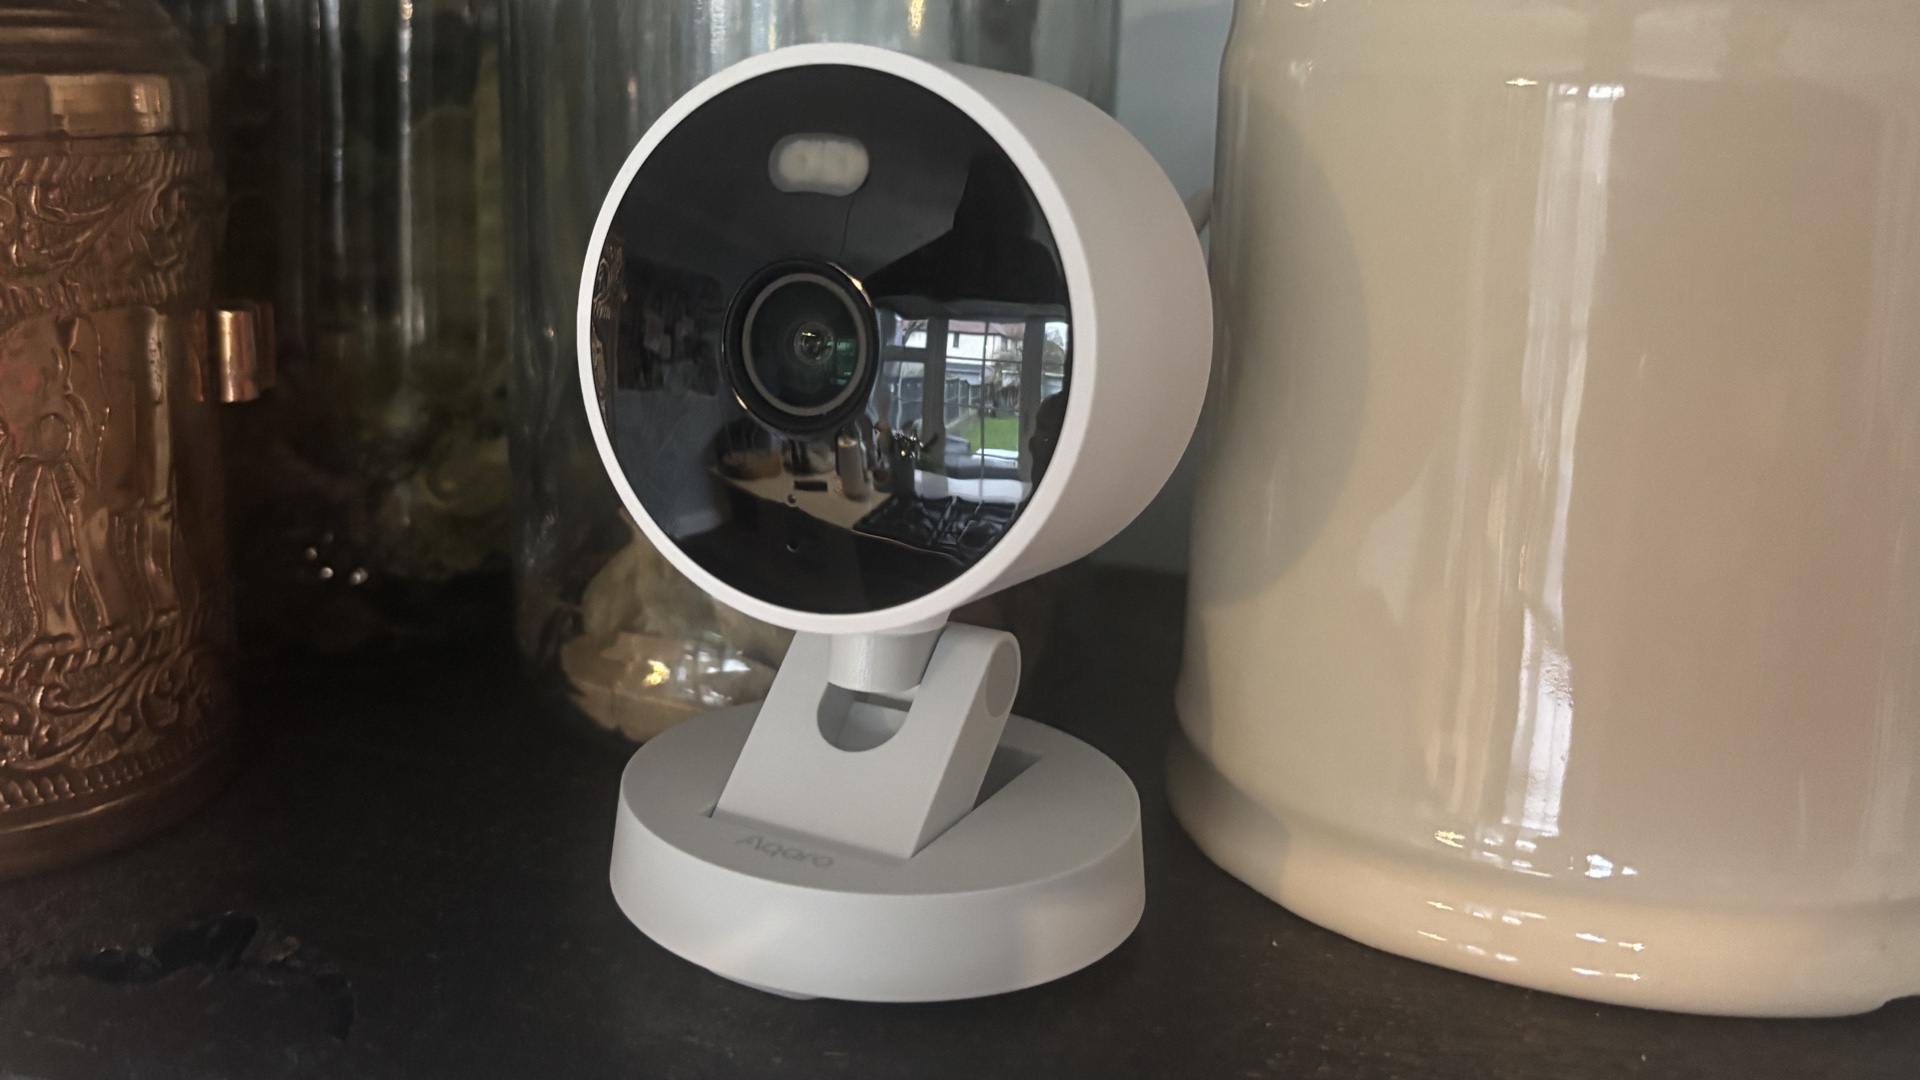
Physical installation is where the G100 really shines thanks to its flexible ball-and-socket mount. This design allows for a seamless Aqara G100 wall vs ceiling mount installation, depending on whether you want to monitor a narrow hallway or a wide driveway. The 2K resolution sensor with its 140-degree field of view means you have plenty of room to play with angles.
For those planning an Aqara G100 outdoor installation for weather resistance, pay close attention to the cabling. The device is IP65 for weather resistance, which means it is protected against rain and dust. However, that protection is only effective if the Aqara G100 USB-C power cable weather protection sleeve is pulled firmly over the port. I often see users skip this step, leading to moisture ingress and hardware failure within months. Ensure the rubber seal is flush against the camera body to maintain the IP65 weatherproofing integrity.
Advanced Integration: HomeKit, RTSP, and Home Assistant
As a smart home editor, I always look for products that play well with others. The G100 does not disappoint, offering several ways to integrate with your existing ecosystem without forcing you into a cloud subscription.
Connecting Aqara G100 to Apple HomeKit
If you are an Apple user, you can bypass the Aqara cloud for daily use by adding the device to the Home app. Locate the HomeKit setup code on the base of the camera or the back of the manual. In the Home app, select "Add Accessory" and scan the code. This enables HomeKit Secure Video, allowing you to use your iCloud storage for event recordings. You can also set up smart home automation triggers, such as turning on the porch lights when the camera detects a person after sunset.
Aqara G100 RTSP LAN preview setup guide
For the power users running Home Assistant or a NAS for 24/7 recording, you will want to use the Aqara G100 RTSP LAN preview setup guide method. Navigate to the camera settings in the Aqara app and look for the LAN Preview or RTSP settings. This allows for secure RTSP streaming to local servers. Once enabled, you can fine-tune the activity zones sensitivity to ensure your NAS isn't recording every time a tree branch moves in the wind. This local integration is a huge win for privacy-conscious users who want to keep their data off the public internet.
Troubleshooting Aqara Camera Connectivity
Even the best tech has hiccups. If you find yourself troubleshooting Aqara camera connectivity issues, the first culprit is usually the network band. As mentioned, the 2.4GHz Wi-Fi band is required. If your router uses a "Smart Connect" feature that merges 2.4GHz and 5GHz into one name, the G100 might struggle to pair. Try temporarily disabling the 5GHz band on your router until the setup is complete.
If the camera becomes unresponsive or you are moving it to a new home, you may need to perform a factory reset. To do this, locate the reset button (usually near the base or under a weather flap) and hold it for ten seconds until you hear the voice prompt. This will clear the Aqara G100 microSD card recording configuration and Wi-Fi settings, letting you start fresh. For users experiencing choppy video via third-party apps, ensure your secure RTSP streaming settings match the bitrate capabilities of your local network.
FAQ
Is the Aqara G100 compatible with Apple HomeKit?
Yes, the G100 is fully compatible with Apple HomeKit and supports HomeKit Secure Video. You can pair it directly using the setup code found on the device hardware or in the instruction manual. This allows the camera to trigger automations and store encrypted video in your iCloud account.
What should I do if the Aqara G100 won't connect to Wi-Fi?
Most connectivity issues stem from using a 5GHz Wi-Fi frequency. Ensure your router is broadcasting a 2.4GHz signal and that your phone is connected to that specific network during the setup process. Additionally, check that your Wi-Fi password does not contain special characters that might be unsupported by the device firmware.
Does the Aqara G100 require a hub for remote access?
No, the G100 connects directly to your Wi-Fi network and does not require an Aqara Zigbee hub to function as a standalone camera. However, if you want to use the camera as a trigger for other Aqara Zigbee devices like sensors or switches, having an Aqara hub can provide a more robust automation experience.
How do I reset the Aqara G100 to factory settings?
To reset the device, find the physical reset button on the camera body. Press and hold this button for about 10 seconds. You will hear a voice prompt confirming that the reset process has started. After the reset, the camera will return to its original state, and you will need to go through the pairing process again.
Can I use the Aqara G100 with Google Home or Alexa?
Yes, the Aqara G100 supports integration with both Google Home and Amazon Alexa. After setting up the camera in the Aqara Home app, you can link your Aqara account within the Google Home or Alexa apps. This allows you to view the camera's live feed on smart displays like the Nest Hub or Echo Show.