Quick Facts
- Primary Method: Most modern units use the USB Video Class protocol for a plug-and-play experience.
- Compatibility Check: If your device only shows as a mass storage device, it likely lacks native PC camera mode.
- Connectivity Stats: Approximately 30% of all drivers in the United States, representing 69 million people, owned a dash cam as of 2026.
- Market Outlook: The global dashboard camera market is projected to reach $7.64 billion by 2030, indicating a massive surplus of older hardware ready for upcycling.
- Essential Tool: A high-quality USB data cable is required; standard charging-only cables will not work for video transmission.
- Hardware Fallback: For devices without native USB support, an HDMI capture card can bridge the gap.
To use a dash cam as a webcam, first verify if the device supports the USB Video Class (UVC) protocol. Connect the camera to your computer using a USB data cable and look for a mode selection screen; if the dash cam offers a PC camera or webcam mode, it is typically plug-and-play for Windows and macOS. If it is only recognized as a mass storage device, it likely lacks native UVC support and cannot be used as a webcam via USB without additional hardware like an HDMI capture card.
Phase 1: Checking UVC Dash Cam Compatibility
Before you start tearing cables out of your car's interior, we need to talk about the gatekeeper of this entire project: the USB Video Class protocol. In the world of PC peripherals, UVC is what allows your computer to recognize a camera as an imaging device rather than just a external hard drive. When you connect a device that supports UVC, the operating system initiates a hardware handshake that automatically loads the necessary drivers.
To check dash cam UVC support for webcam use, you should perform a direct diagnostic test. Start by bringing your dash cam to your desk and connecting it to your PC. Watch the screen of the dash cam closely. Most devices will present a menu asking if you want to enter Mass Storage mode, Power mode, or PC Camera mode. If you see PC Camera or Webcam, you are in luck. This is the simplest path to hardware upcycling.
If your device does not show a menu and simply begins charging or appears as a new drive letter in File Explorer, we need to dig deeper into the system settings. Open the Device Manager on your Windows machine and look under the Cameras or Imaging Devices section. If you see a generic USB Video Device listed, the hardware is communicating correctly. However, if the device only appears under Universal Serial Bus controllers as a storage volume, you are facing a common hurdle where the device is locked into its default recording state.
Compatibility Checklist
- Firmware Menu: Does a PC Camera option appear upon connection?
- OS Recognition: Is it listed under Cameras in Device Manager?
- Manual Override: Does the instruction manual mention webcam or PC-Cam functionality?
- Physical Ports: Does the device have a Mini-USB, Micro-USB, or USB-C port that supports data transfer?
Often, users struggle with a fix dash cam showing as mass storage instead of webcam because of the internal firmware priority. Some manufacturers disable the webcam feature to save on production costs or to simplify the user interface for drivers. If your dash cam as webcam dream seems stalled here, don't worry—the HDMI fallback method we discuss later can bypass these software limitations entirely.
Phase 2: Dash Cam Webcam Hardware Requirements
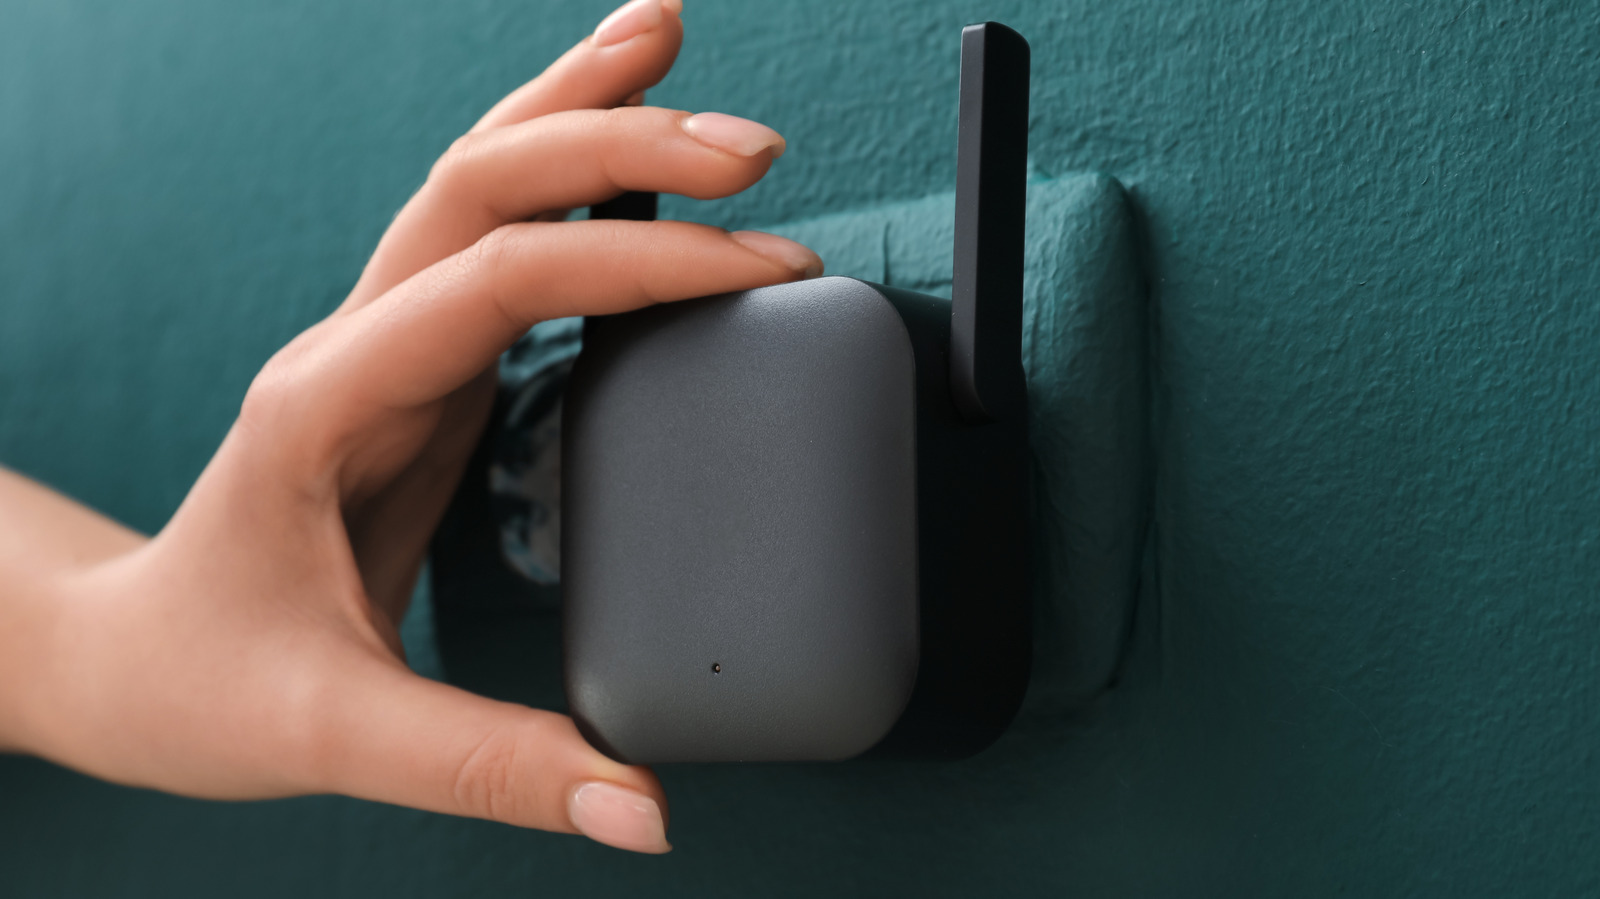
One of the most frequent points of failure I see in DIY hardware setups involves the humble USB cable. Not all cables are created equal. Many dash cams come with a long cable intended for car power outlets, which often only contains the two wires necessary for power delivery. To achieve a stable dash cam as webcam connection, you must use a dedicated USB data cable. If your computer isn't even "pinging" when you plug the camera in, the cable is the first thing you should swap.
Power management is another critical factor. Dash cams are designed to run on a constant 12V feed from a vehicle or a regulated 5V feed from a cigarette lighter adapter. While a standard USB 2.0 port on a motherboard provides 5V, it often caps out at 500mA. Many high-resolution dash cams with active GPS and large LCD screens draw more than that, leading to frequent disconnects or "brown-outs" where the camera resets mid-call.
Use a powered USB hub if you experience intermittent connectivity. This ensures the camera receives a steady amperage regardless of what your motherboard's USB bus is doing.
USB Data Cable vs Charging Cable for Dash Cam Webcam
| Feature | Charging Cable | Data Cable (Required) |
|---|---|---|
| Internal Wiring | 2 wires (Power/Ground) | 4+ wires (Power/Ground/Data+/-) |
| PC Recognition | Only charges the battery | Triggers driver installation |
| Use Case | Car power outlet only | PC Camera and file transfer |
| Gauge | Often thinner/cheaper | Shielded for signal integrity |
Beyond the cable, consider the mount. Most car mounts use suction cups or adhesive pads designed for glass. These don't play well with the plastic bezel of a modern thin-bezel monitor. You might need to adapt a small tripod or use a 1/4-inch thread adapter if your dash cam has a standard mounting hole. Powering dash cam for webcam use without car battery usually requires keeping the internal battery (if it has one) topped off while the USB cable provides the primary operating current.
Phase 3: Step-by-Step Setup (USB vs HDMI Fallback)
Once you have confirmed UVC dash cam compatibility and have the right cable, the setup is straightforward. For most plug-and-play devices, you simply select the mode on the dash cam screen and wait for Windows or macOS to chime. But what if your high-end dash cam has a great sensor but no UVC support? This is where the dash cam webcam setup via HDMI capture card comes into play.
Many premium dash cams feature a Mini-HDMI or Micro-HDMI port for playing back footage on a TV. This port usually outputs a "clean" video signal. By using a cheap HDMI to USB capture card—available for under $20 online—you can take that video feed and trick your computer into seeing it as a standard webcam. This bypasses all the firmware headaches associated with USB data modes.
- Connect the HDMI cable to your dash cam and the capture card.
- Plug the capture card into a USB 3.0 port on your computer.
- Turn on the dash cam and navigate to its settings to ensure HDMI Out is active.
- Open your camera app to verify the feed.
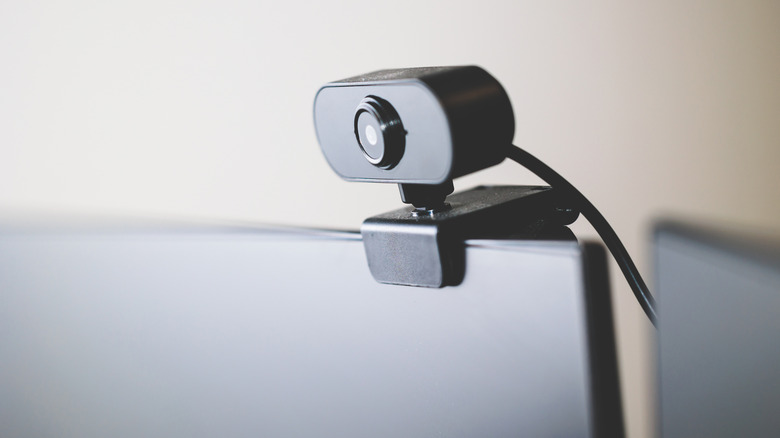
Mounting is the final physical hurdle. Dash cams usually have a very wide field of view, which is great for catching accidents but can be awkward for a professional meeting. Mounting dash cam on monitor for video calls requires a bit of ingenuity. If the suction cup won't stick to your monitor's back, a small amount of heavy-duty mounting tape or a bespoke 3D-printed bracket can keep the camera stable at eye level.
Phase 4: Software Integration and Best Settings
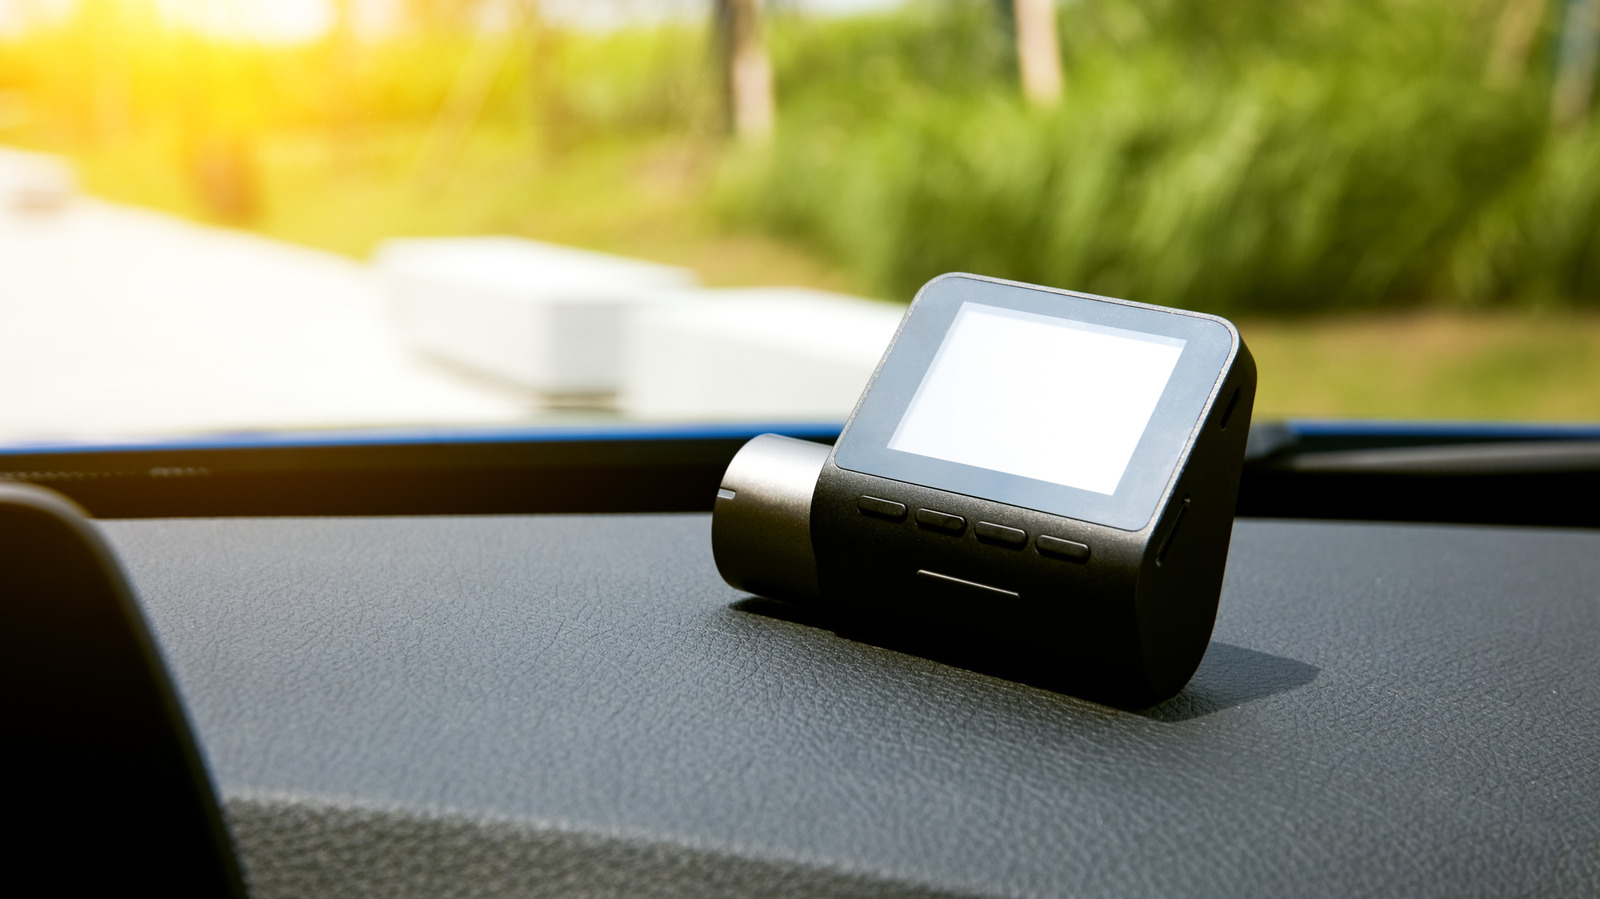
With the hardware connected, you need to optimize the image. Dash cams are built for the road, not the boardroom. This means they often have high sharpening, high contrast, and a fish-eye effect. When using dash cam as webcam for zoom and microsoft teams, you will notice that you appear much further away than you would on a standard Logitech or Razer webcam.
Go into your video conferencing software settings and select the camera from the dropdown menu. If the image looks distorted, look for a "Crop to Fit" or "Original Ratio" setting. Because dash cams are designed for loop recording, you must ensure you disable the G-sensor and parking mode settings in the camera's internal firmware. If the G-sensor is active, bumping your desk might trigger an "Emergency Recording" mode that locks the device or overlays a giant "REC" icon on your video feed.
Best settings for dash cam when used as PC camera
- Resolution: Set to 1080p if possible; 4K dash cams often overheat when used as webcams for long periods.
- WDR (Wide Dynamic Range): Turn this ON. It helps balance the light from your office windows and your monitor.
- Audio: Most dash cam microphones are subpar. I recommend using a dedicated headset or a separate USB microphone for better sound quality.
- Frequency: Set to 60Hz (USA) or 50Hz (EU/UK) to prevent flickering from your office lights.
You should also be aware of troubleshooting dash cam webcam connection issues during long meetings. Since these devices are used to the airflow of a moving car, they can get surprisingly hot sitting on a monitor. If your video starts to lag or show digital artifacts, it’s a sign of thermal throttling. Turning off the dash cam's built-in LCD screen (usually via a "Screen Saver" setting) can significantly reduce heat buildup and power draw.
The market is shifting rapidly, with the dash cam market to reach $7.64B by 2030, meaning the technology inside these small boxes is getting better every year. If you have an old 1440p unit sitting in your glove box, it likely has a better sensor and lens than the $30 webcam you’d buy at a big-box store. It’s a rewarding weekend project that keeps e-waste out of landfills while upgrading your digital presence.
FAQ
Can I use my dash cam as a webcam for my computer?
Yes, you can use a dash cam as a webcam if the device supports the USB Video Class (UVC) protocol or has an HDMI output. If UVC is supported, it acts as a plug-and-play device via a USB data cable. If not, an HDMI capture card can be used to send the video signal to your PC.
How do I connect a dash cam to a PC for video calls?
To connect a dash cam for video calls, use a high-quality USB data cable to link the camera to your computer. On the dash cam's screen, select PC Camera or Webcam mode. Once selected, open your video conferencing software like Zoom or Teams and select the dash cam from the available camera list.
Do all dash cams have a webcam mode?
Not all dash cams have a webcam mode. Many budget-friendly or older models only support Mass Storage mode for transferring files. You must check the device firmware settings or the user manual to see if a PC Camera or UVC mode is explicitly supported.
What cables are needed to use a dash cam as a camera?
You specifically need a USB data cable, which is different from a standard charging cable. A data cable contains the necessary wiring to transmit video signals. Additionally, if you are using the HDMI fallback method, you will need a Mini or Micro-HDMI to HDMI cable and a USB capture card.
How do I switch my dash cam from mass storage to camera mode?
When you plug the dash cam into your PC, a menu usually appears on the dash cam's LCD screen. Use the physical buttons on the camera to navigate to PC Camera and press the OK or Select button. If the menu does not appear, check the camera's system settings menu while it is disconnected from the PC to see if you can change the default USB function.
If you have successfully converted a specific model or run into a unique hardware handshake issue, drop the model number in the comments below. Sharing these success stories helps the community build a better database of compatible hardware!