Quick Facts
- Best Mounting Height: Secure the unit between 6 to 8 feet above ground level to maximize detection range.
- Optimal Orientation: Always face the lens North or South to eliminate sun flare and image washout.
- Minimum Target Distance: Maintain a distance of at least 15 feet from the target zone to ensure proper PIR sensor triggering.
- Top Battery Choice: Use AA Lithium cells (1.6V) for consistent flash power and superior cold-weather performance.
- SD Card Standard: Select industrial-grade UHS-I, U3, V30 cards and perform an in-camera format before every deployment.
- Scent Management: Wear scent-free gloves and approach the site from a downwind direction to minimize human odors.
To optimize your scouting and avoid common trail camera mistakes, mount your device at a height of six to eight feet, face the lens North or South, and utilize high-voltage lithium batteries paired with a properly formatted industrial SD card. Following these technical standards ensures your equipment captures clear images and provides reliable data without alerting local wildlife.
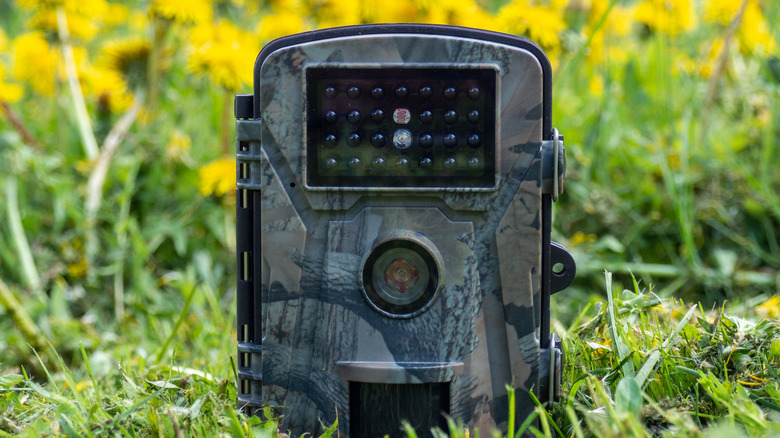
Mistake 1: Poor Physical Placement and Orientation
One of the most frequent trail camera mistakes I see in the field has nothing to do with the camera internal hardware and everything to do with where it is bolted. Photographers often treat a trail camera like a handheld DSLR, aiming it directly at the subject at eye level. However, a trail camera is a passive observer relying on a PIR sensor (Passive Infrared). If you place the camera too low or too close to a trail, you create a narrow detection zone that either misses the animal entirely or captures a blurry patch of fur as the creature moves past.
The solution is the 6-15-8 Rule. We recommend mounting the camera at a height of 6 to 8 feet. This elevated position provides a better downward angle, which prevents the sensor from being blocked by tall grass and makes it harder for deer to spot the device. To ensure the PIR sensor has enough time to trigger and the lens can focus, keep the unit at least 15 feet away from the center of the trail or scrape. This distance allows the detection range to widen, capturing the full body of the animal.
Orientation is equally critical. If you point your camera East or West, you are essentially scheduling a blind spot for every sunrise and sunset. The direct sunlight hitting the lens causes significant sun flare and sensor washout, rendering your morning and evening photos useless. By facing the camera North or South, you ensure the sun stays to the side of the lens, providing consistent lighting throughout the day. When these trail camera placement tips are applied correctly, the results are statistically proven. Research studies have shown that properly deployed trail camera surveys can photograph 90% of the deer population on a property within a 14-day window.
Mistake 2: Using the Wrong Power Source
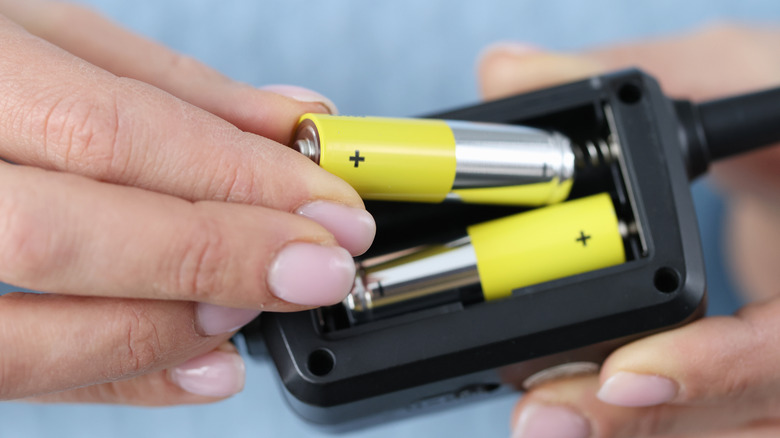
I often hear users complain about their cameras dying after just a week in the woods. The culprit is almost always the choice of battery. To understand why, we need to look at the gas tank vs. fuel line analogy. Think of the milliamp-hour (mAh) rating as the size of the gas tank—how much energy the battery holds. Think of the voltage (V) as the diameter of the fuel line—how much power can be delivered at once.
Standard alkaline batteries start at 1.5V but drop in voltage as they drain. Once they hit 1.2V, the camera might still have plenty of energy left (a full gas tank), but the fuel line is too narrow to power the high-surge infrared emitters required for night photos. This is why are my trail camera batteries dying so fast—the camera simply can't pull enough power to trigger the shutter and the flash simultaneously. Standard rechargeable AA batteries are even worse for this application because they typically start at a mere 1.2V, which is already the "failure" threshold for many modern cameras.
For serious scouting, lithium-based batteries are the only professional choice. They maintain a consistent 1.6V output until they are nearly empty, ensuring your flash remains bright even in sub-zero temperatures. If you are managing a large fleet of cameras, consider the best batteries for trail cameras in cold weather to be Lithium, or invest in an external power source. Solar kits or large external lead-acid batteries can provide months of uninterrupted service, especially for cellular units where constant signal searching drains internal cells rapidly.
| Battery Type | Nominal Voltage | Cold Weather Performance | Best Use Case |
|---|---|---|---|
| Alkaline | 1.5V (drops quickly) | Poor | Short-term, warm weather |
| NiMH Rechargeable | 1.2V | Moderate | Low-drain, backyard use |
| Lithium | 1.6V (stable) | Excellent | Long-term scouting, cold climates |
| External Solar | Variable | Good (requires sun) | High-traffic cellular sites |
Mistake 3: Improper SD Card Setup and Maintenance
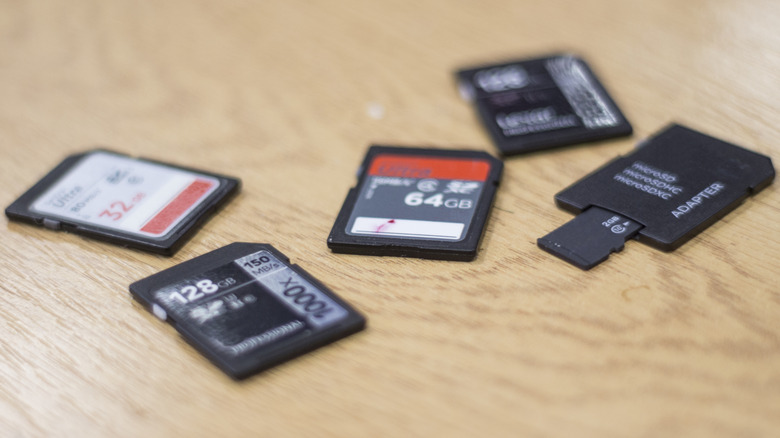
The SD card is the most overlooked piece of the imaging chain. A common trail camera sd card setup error is using high-speed cards designed for high-end DSLRs. While it seems logical that a "better" card would work better, many trail camera processors struggle to communicate with the ultra-high-speed bus interfaces found in top-tier photography cards. This leads to communication errors, locked-up cameras, and corrupted files.
Instead, stick to industrial-grade UHS-I cards with U3 or V30 ratings. These offer the perfect balance of write speed and compatibility. Perhaps more importantly, you must format the SD card inside the camera menu itself. Do not simply delete files on your computer. Formatting in-camera clears the file allocation table and builds the specific folder structure your camera requires, which is the best way how to format sd card for trail camera to prevent mid-season failures.
Another data-related mistake is chasing high megapixel counts. It is a surprising fact that trail cameras with 8 to 12 megapixels accounted for 57.5% of the global market share in 2022. Many manufacturers use "interpolation" to artificially inflate a 5MP sensor to a 20MP or 30MP image. This doesn't add detail; it just adds digital noise and takes up more space on your card. Stick to the native resolution of your sensor for the cleanest images and most efficient storage.
Mistake 4: Excessive Human Pressure and Scent
The final mistake is one of woodsman-ship rather than technology. We call it camera pressure. If you check your cameras every three days because you are excited to see the footage, you are effectively "educating" the wildlife. Deer, especially mature bucks, are incredibly sensitive to human scent and visual changes in their environment.
When setting up or checking your gear, follow strict scent control protocols. Use scent-free gloves to handle the camera, as the plastic housing can hold onto human oils for weeks. Always approach the camera from a downwind direction so your scent isn't blowing into the bedding area or toward the trail you are monitoring.
Security is another factor that falls under human pressure. On public land, you aren't just hiding from animals; you are hiding from people. Learn how to secure trail cameras from theft by using Python locks or heavy-duty steel security housings bolted to the tree. For the ultimate stealth, use black flash (no-glow) technology. While red-glow infrared is slightly more powerful, the visible red light of the emitters can alert both wary animals and potential thieves to the camera's location.
FAQ
How high should I mount a trail camera?
The ideal mounting height is between 6 and 8 feet above the ground. Mounting the camera at this height helps keep the device out of the direct line of sight of wildlife and provides a better angle for the PIR sensor to detect motion across a wider area. Be sure to angle the camera slightly downward to cover the intended target zone.
What is the best direction to face a trail camera?
You should always aim to face your trail camera North or South. Facing the camera East or West puts the lens in direct contact with the rising or setting sun, which creates severe sun flare and can result in "white-out" images where the subject is completely obscured by glare.
Why are my trail camera night photos all white?
All-white night photos, often called "whiteouts," are usually caused by the subject being too close to the camera (less than 15 feet) or by using batteries with insufficient voltage. If an animal is too close, the powerful infrared flash overexposes the image. Alternatively, if the batteries are weak, the camera may struggle to regulate the flash output correctly.
How do you prevent trail camera theft?
To prevent theft, use a combination of concealment and physical security. Mount cameras higher in the tree and use a climbing stick to reach them, making them less obvious to passersby. Additionally, use steel security boxes and Python locks to secure the unit to the tree, and consider using no-glow infrared models that don't give away their position with a red light at night.
Why is my trail camera taking photos of nothing?
This is often caused by false triggers. False triggers happen when the PIR sensor detects a change in heat and motion that isn't an animal—most commonly moving branches, tall grass blowing in the wind, or even the sun's heat reflecting off a surface. To fix this, clear all vegetation within the detection zone and ensure the camera is mounted to a sturdy tree that doesn't sway.
By auditing your current setup against these four categories, you can significantly increase the quality of your scouting data. Remember to always perform a final check before leaving the woods: verify the battery level, ensure the SD card is formatted, and double-check your North-South orientation. Taking these extra technical steps ensures that when the buck of a lifetime finally steps into the detection zone, your equipment is ready to capture the moment perfectly.